A Tackle Shop Guide to Fishing Wire & Traces
Choosing the right fishing wire can seem complicated, with different materials, strengths, and connection methods to consider. But the principle is simple: it's about creating a bite-proof link between your leader and your lure. This guide will break down the essentials to help you choose the right wire trace for your target species.
A Note From Our Local Experts
"Down here on the NSW South Coast, we don't have to deal with toothy mackerel, so wire isn't something I use every day. However, I've had plenty of offshore trips ruined by leatherjackets biting off every hook. Having a few basic wire rigs in the tackle box is my solution—it's the difference between packing up and going home, or getting a good feed of jackets.
That said, we see the real need for wire through our online customers. Our sales data tells a clear story: when anglers up north are buying high-speed trolling lures for mackerel, they are almost always buying spools of single-strand wire at the same time. It’s simply the essential piece of gear that makes all the difference when those toothy predators are around."
- Ben Czulowski, Owner, Fishing Tackle Shop
Choosing Your Fishing Wire: Single-Strand vs. Multi-Strand
Your first choice is between a stiff, single-strand wire or a more flexible, multi-strand cable. Here’s the breakdown:
✔
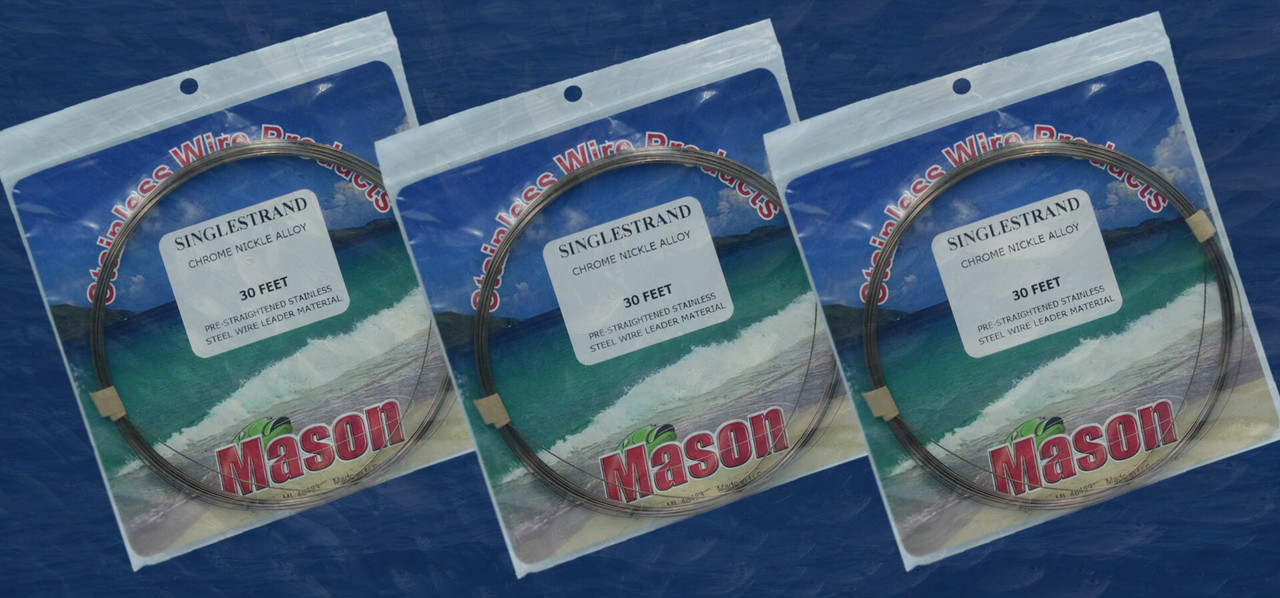
Single-Strand Wire: This is a solid, single filament of wire. It's thinner and stiffer than multi-strand, making it a great choice for trolling, as its rigidity can help impart a better action to your lure. However, it can be prone to kinking if not handled carefully.
✔
Multi-Strand Wire: This is a cable made from multiple, fine strands of wire woven together, often with a nylon coating. It is far more flexible and kink-resistant than single-strand, making it an excellent all-round choice, especially for casting lures from the rocks or the beach.
How to Build Your Own Wire Trace: A Simple Guide
For convenience, a pre-made trace is great. But for customisation and cost-effectiveness, building your own is a valuable skill. Here’s the standard method using crimps:
- Cut your fishing wire to the desired length (a 30-40cm trace is a good starting point).
- Thread a crimp (sleeve) onto the wire, followed by your hook or swivel.
- Pass the tag end of the wire back through the crimp, forming a small, neat loop.
- Using a specialised crimping tool, firmly squeeze the crimp in two places to create a strong, secure connection. Do not use standard pliers, as this can damage the crimp.
- Repeat the process on the other end of the wire to attach your swivel. Your custom trace is now ready to fish.
Frequently Asked Questions
What tools do I need to make my own wire traces?
You will need three key tools: a spool of your chosen fishing wire, a packet of correctly sized crimps (sleeves) to match your wire's strength, and a pair of dedicated crimping pliers. A quality pair of wire cutters is also essential for a clean cut.
Can I re-use a wire trace after catching a fish?
This is an excellent question. After any significant fight, you should always run your fingers along the wire trace to check for any kinks or frayed strands. If you find any, especially with single-strand wire, it is safest to discard the trace and tie on a new one. A kink creates a major weak point that is likely to fail on the next big fish.
Does a wire trace spook fish?
For aggressive predators like tailor and mackerel that are in a feeding frenzy, a wire trace makes very little difference. However, for wary fish in clear water, it can sometimes be a factor. That's why it's always best practice to use the lightest and thinnest wire trace you can get away with for the conditions.


